
 So yes, another week passes and the #TuesdayTip has slipped into Wednesday.
In my defense, I was in the Create & Craft TV studios all day Monday and I took holiday leave to celebrate my little boy’s 5th birthday yesterday.
This brings us to Wednesday and so before I offer another belated #TuesdayTip I must apologise for my tardiness and request that an eighth day be added to the week. 😉 I blame the clocks going forward. I feel like I lost several days, not just one hour on Sunday morning! That’s my excuse and I’m sticking to it!!
 So, today’s tip, whatever day of the week it may be, focuses on using dies for apertures and frames.
Any die can be used to create an aperture. It is simply a case of cutting the die as normal, but discarding the shape itself and keeping the ‘frame’ for use on your project.
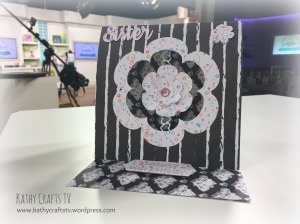
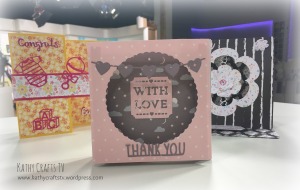
I made a few cards during my demos on Create & Craft TV using this technique so I’ve used these cards as examples.
Here are a couple of things to bear in mind when using dies in this way.
- The piece of paper, material, vellum, foam, or whatever you are cutting your shape out of will be used on your finished project. You can either cut your material to shape beforehand or trim it down once you have made the die cut. I like to have my shape pre-cut so that as soon as I have die cut my frame or aperture it’s ready to be used. You can also cut into the card blank itself to create an aperture.
- For the same reason that the material will feature on your project, make sure your cutting sandwich is free of papers or other materials left over from previous die cutting as this can leave an embossed impression on your material as it passes through the high pressure machine.
- Use low tack or washi tape to hold your die in the correct position on your material. When creating an aperture you need the shape to be in the exact spot and dies have a habit of ‘jumping’ or slipping on the machine plates, especially if they are well used and have warped slightly. (This is normal and is due to the high pressure required for the die to cut through the material. You can minimise the impact by changing the orientation of your plates each time you cut.)
- Don’t throw away the die cut itself. Once you have created your aperture you can use the inside shape on another project. Why not use it to make a matching gift tag to go with your card or on the envelope?
- When you have nesting dies – a series of dies in the same shape but in different sizes – you can also make frames. When doing this you may wish to cut one at a time to avoid any risk of the dies overlapping and becoming damaged. I tend to rely on low-tack or washi tape again so that they don’t move during the pass.
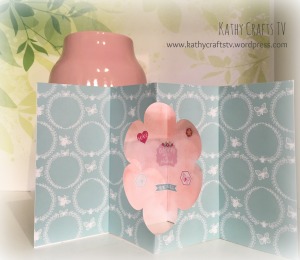
- Create an aperture on the inside of your card. There’s a full step by step turorial for this technique over at the Trimcraft web site: https://www.trimcraft.co.uk/blog/february-2017/dovecraft-blooming-lovely-tunnel-card-tutorial
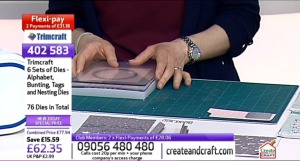
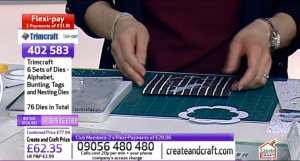
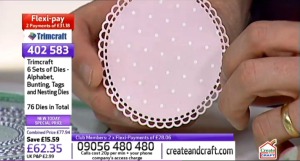
The dies I used on Monday’s show are still available on the Create & Craft web site so I’d highly recommend getting them to make apertures and frames for your cards. The nesting blooms are particularly versatile as they can be used to create shaped card blanks, 3D crafts such as this wreath and pomander and so much more.


Here are some more aperture cards to inspire you to make your own. Please share anything you make with me on Facebook, Twitter and Instagram by tagging KathyCraftsTV.


Love this range of examples, really helpful to see much more than simple apertures
LikeLiked by 1 person