 Obviously when we were planning Activity Night at school, all of the other mums on the PTA looked at me when it came to organising the craft activities (and they are all mums, unfortunately we scared away the only Dad to ever attend a meeting!!).
However it was a teacher – a mum to a nursery age pupil – who came up with the fantastic rice rain-shaker musical instrument idea for the kids to do during the ‘Colour Carnival’ themed event.
I wasn’t able to attend the meeting where all the planning jobs were assigned but I am delighted to say that I think I got the most fun job.
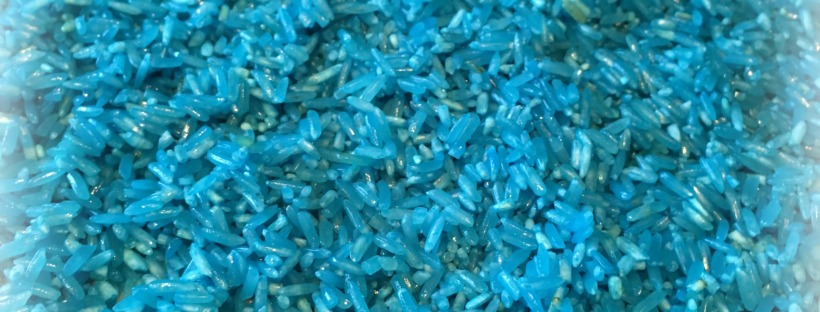
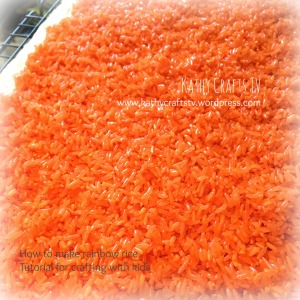
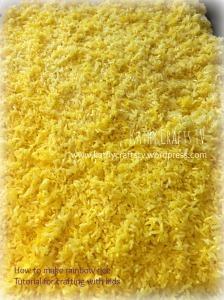
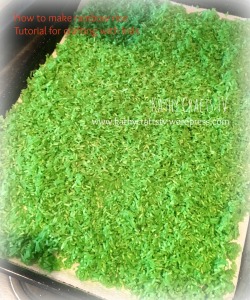
I started this project with some trepidation as I just wasn’t sure how it was going to turn out, but honestly, I felt so happy seeing the rice turn into the really bright and vibrant colours. It was a real feel good craft and it took hardly any time at all.
How to colour rice tutorial
There are just three very simple steps and it took about two hours to dry thoroughly. No colour came of the rice when handling it, something I was a little concerned about as I knew the children would be putting the rice into the plastic bottles themselves.
I managed to do all the colours straight after each other and the only issue was finding enough trays and racks to dry the rice on. Luckily I have some stackable wire racks so I created layers and the kitchen looked very colourful for a few hours.
So, how do you colour rice quickly and easily and what will you need?
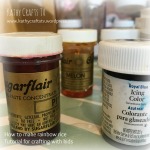
 Gather together your kit. You’ll need:
- Some vinegar (I ran out of white vinegar during the tutorial so resorted to cider vinegar that I unearthed from the back of the cupboard. It worked just as well and had a nice – by which I mean distinctive – smell too!!)
- Gel food colouring
- Rice (cheapest you can find)
- Plastic tub
- Kitchen roll or non-stick baking paper
- Trays / racks for drying
-
- Tutorial – how to colour rice
-

- How to make rainbow rice 2
-
- How to make rainbow rice 3
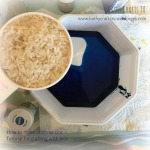
Step 1 – Place 2 tablespoons of vinegar into an old ice cream, margarine or tupperware container. Mine didn’t stain actually do you could even use a plastic sandwich box. Add a generous dollop of gel food colouring. There is no exact amount as the vibrancy of the colour is up to you. I used a dollop on the end of a cocktail stick, probably the same amount that I would use for colouring a batch of buttercream icing. Mix the vinegar and gel colouring together with the cocktail stick.
Step 2 – Add a cup full of rice, give it a stir, then put the lid on and shake it up, shake it up. Shake. Shake. Shake it up! It can help to have Taylor Swift playing in the background although I know technically she sings “Shake It Off” not “Shake it Up” but it’s great fun anyway!


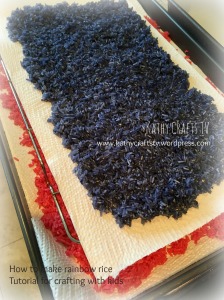
Step 3 – Tip the rice out onto kitchen paper or greaseproof, non-stick baking paper to dry. The rice did stick to the kitchen roll a little bit so I needed to scrape it off, which is why I think greaseproof paper may be better. You can dry the rice on a baking tray or cooling rack. I used a combination of both. As I made a batch of 6kg of rice for the kids at school.


As I mentioned, it didn’t take very long to dry. To check I just picked some up in my hand. None of the colour came off and the rice was surprisingly dry. I popped each colour into a plastic sandwich bag to transport it to school.
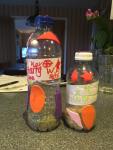
The kids popped multicoloured rice into a plastic bottle to make a rain shaker handmade musical instrument and they decorated them with stickers (you could use paint if you don’t mind getting messy!)
Tutorial – how to colour rice
It would be a great sensory toy for a baby too, as long as you glued the lid on to the bottle. You could also use the rice in a shaker card or allow the kids to make a collage using the rice to make a scene. That would be a great half term or summer holiday craft activity.
I’d love to see the fun you have with your coloured rice. Please share your photos with me on Twitter, Facebook or Instagram.

Coloured rice is great fun, in my reception class a few years ago we used it at diwali to make rangoli patterns in a tuff spot. Fab tutorial!
LikeLiked by 1 person
Thank you. I really can’t tell you how uplifted I was seeing all the rice drying together with the colours so vibrant!
LikeLike